
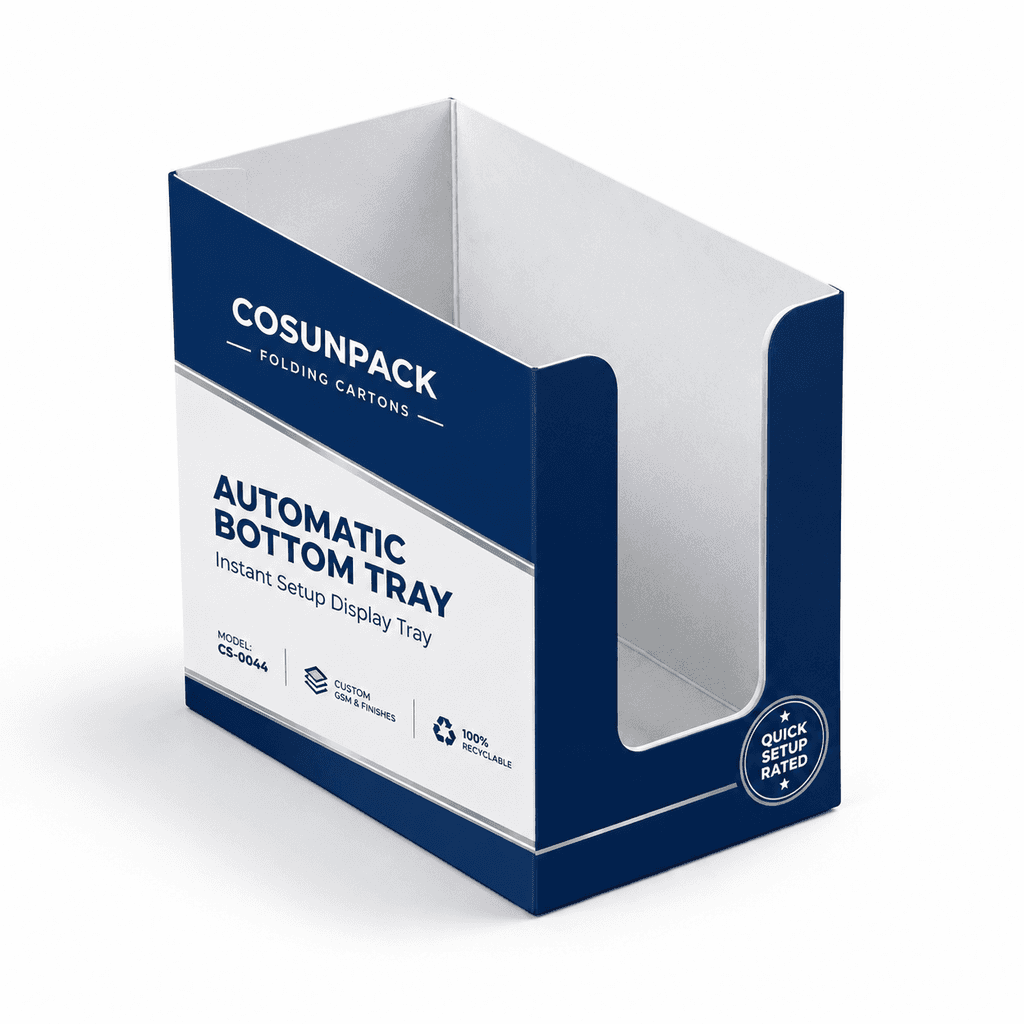
Automatic Bottom Tray
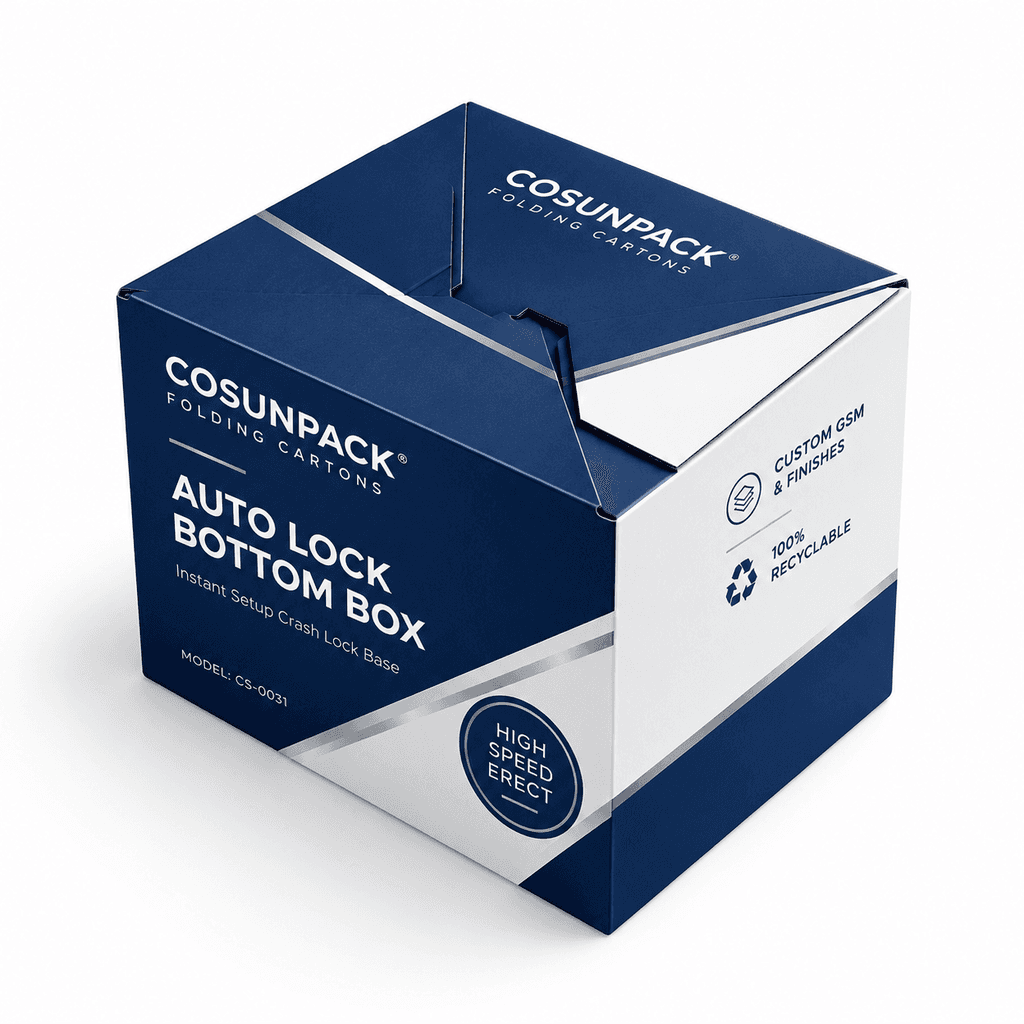
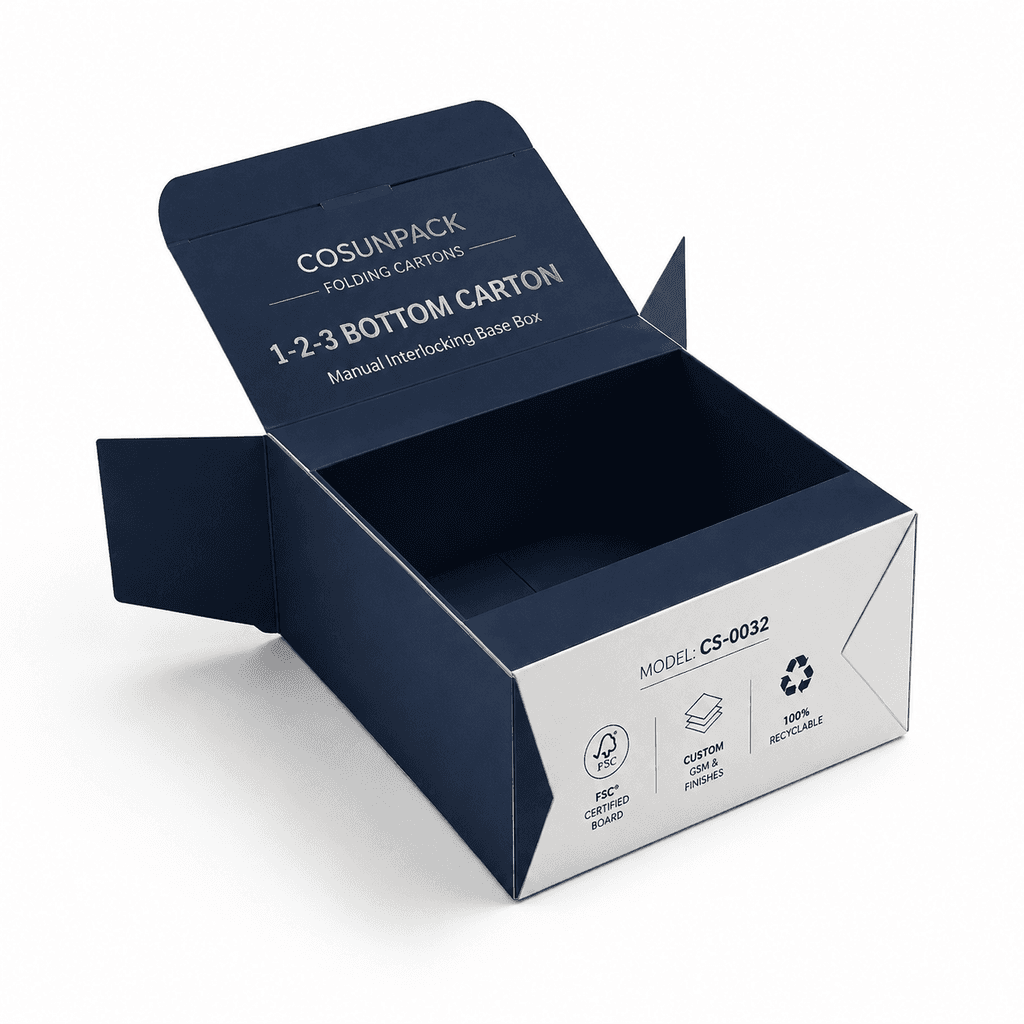
Automatic Bottom Tray: Printed paperboard packaging for retail display and product presentation. Confirm the closure, board, artwork, and finishing against your filling process.
Product Highlights
- Wide finish library: matte, gloss, soft-touch, foil, spot UV
- Ships flat; assembles quickly at filling or packing
- Board and coating selection reviewed for the intended product contact
- Structures engineered for auto-packing lines
- Premium paperboard with crisp, high-definition offset print
- Precise creases and tucks for smooth hand or machine filling
Craftsmanship & Production
Production steps and quality checks for this packaging format, coordinated across our printing workshops and specialized production network.
Customization Options
Review the available options for Automatic Bottom Tray with our team. These are the requirements to confirm:
- Board 200–450 gsm
- Tuck / lock / seal structures
- CMYK + Pantone print
- Lamination, foil, spot UV, soft-touch
- Window patches
Specification Planning — Automatic Bottom Tray
Review these material and process options for the selected structure. Your quotation confirms the exact specification for your project.
| Material | 200–450 gsm white/kraft paperboard, GC1/GC2 |
|---|---|
| Structure | Automatic Bottom Tray |
| Size Range | Dimensions or capacity confirmed against your product and selected tooling |
| Thickness | Material thickness or weight confirmed in the approved specification |
| Printing | Offset, CMYK + up to 2 Pantone spot colors |
| Finishing | Matte/gloss lamination, spot UV, foil, embossing, soft-touch |
| MOQ | Quoted per material, structure, print process, and order quantity |
| Sampling Lead Time | Confirmed after the artwork, structure, and tooling review |
| Production Lead Time | Confirmed after sample approval and production planning |
| Typical Applications | Retail, cosmetics, food, supplements, electronics |
Options shown for planning; final parameters are agreed in writing with your quotation and approved sample.
Before You Order
Automatic Bottom Tray FAQ
Practical answers on choosing the structure, avoiding common problems, and confirming the right specification for your product.
What should an automatic-bottom tray do during setup?
Confirm its intended erection motion on a sample and identify how the bottom reaches its fully formed position. Trial setup from the supplied flat condition, then check squareness before filling. The final drawing should show any required corner engagement or other finishing step.
Technical references
Can we load the tray immediately after opening it?
Define a check that the base is fully formed before placing products into it. Trial your actual packing sequence with the proposed insert and contents. Fast erection is useful only if operators consistently reach the approved shape without forcing a partly folded bottom.
Technical references
How do we select support for dense items in the tray?
Provide total weight and individual contact points, then assess the base and glued areas with the actual arrangement. Compare a spreading pad or revised base if local distortion appears. Do not assign a load capacity from the automatic erection mechanism alone.
Technical references
Which artwork areas are hidden after automatic erection?
Review the bottom's overlapping panels and any folded corner areas on a physical printed proof. Keep critical text and codes on stable visible surfaces. Confirm the tray in its final lid or sleeve so the presentation does not conceal information needed by the buyer.
Technical references
Have a different application? Share your requirements for this model.
One Partner for Your Complete Packaging
Source packaging from China with one team, from product-led development to delivery. Share your product or idea, component list, quantity, and destination—we will help define the next steps.